How to Replace the Glass Top on a Pop-Up Outlet
Seb AroneyIf the glass top on your pop-up outlet is cracked, chipped, or scratched, you can usually swap it without replacing the whole unit. In most cases, the glass is held on with adhesive, so gentle heat is all you need to loosen it.


What You Need
- Hairdryer (preferred) or low-heat gun (only if you are experienced)
- A plastic pry tool or plastic wedge (avoid metal tools)
- Microfiber cloth
- Isopropyl alcohol (optional, for cleaning adhesive residue)
- Your replacement glass top
Step-by-Step
1) Power Off First
First, disconnect power. If the unit plugs in, unplug it. If it is hardwired, switch it off at the breaker. Then confirm it is not powering on.
2) Warm the Glass to Soften the Adhesive
Next, aim a hairdryer at the top glass section and heat it evenly. Keep the dryer moving and stay on a moderate setting. You want it warm enough to slightly soften the glue, not hot enough to damage the plastics.
3) Lift the Glass Using a Plastic Tool
Once the adhesive softens, gently work a plastic pry tool under the edge of the glass. Then slowly lift and peel the glass away. Take your time and use steady pressure. If it feels stuck, stop and apply a bit more heat before trying again.
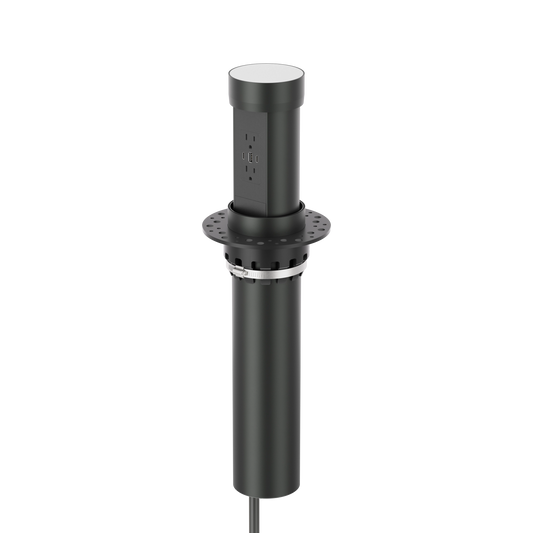
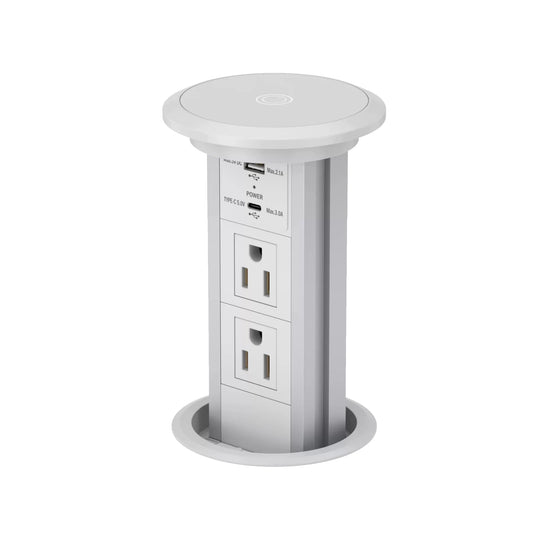
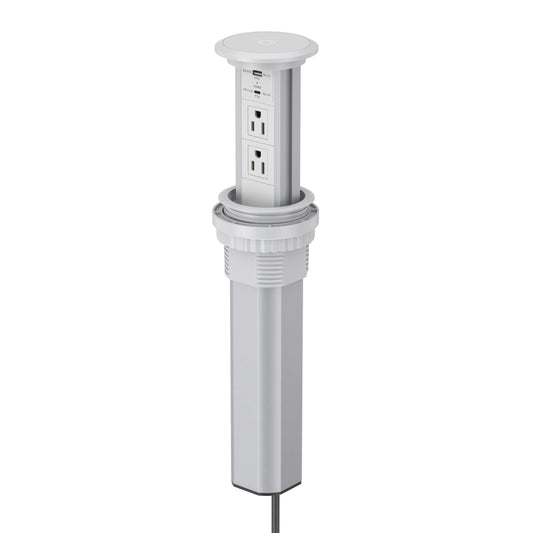
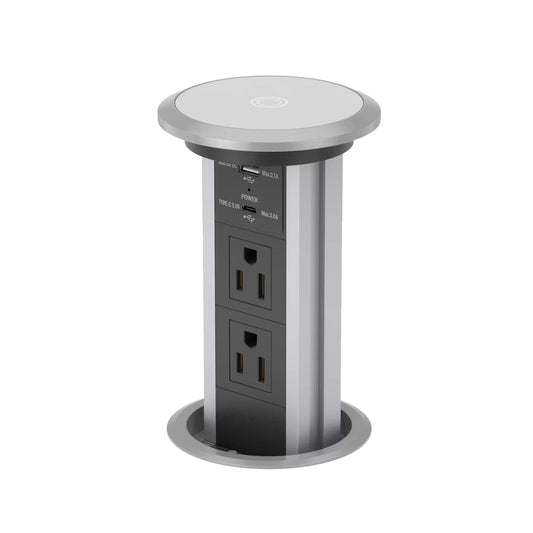
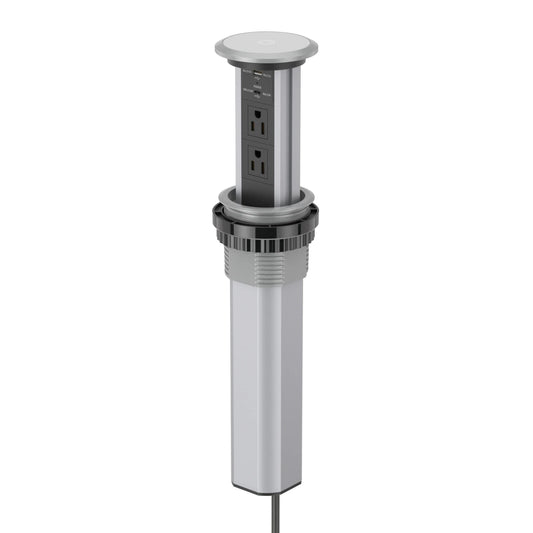
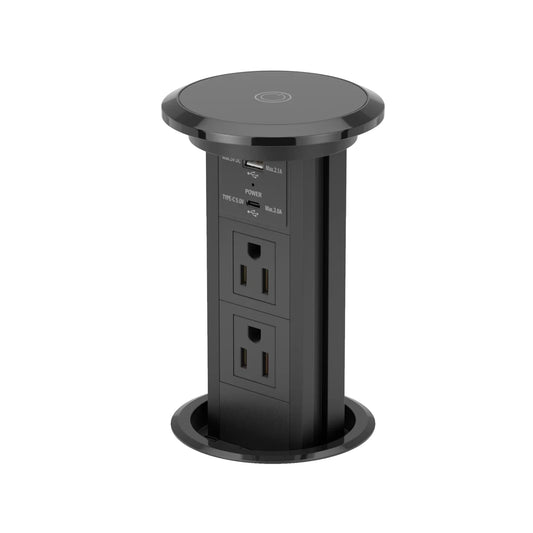
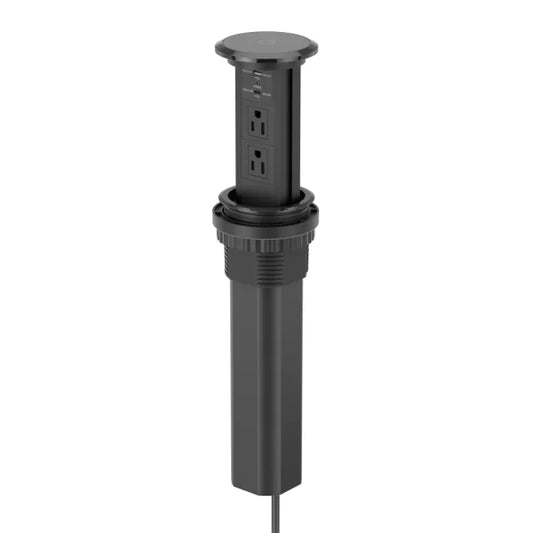
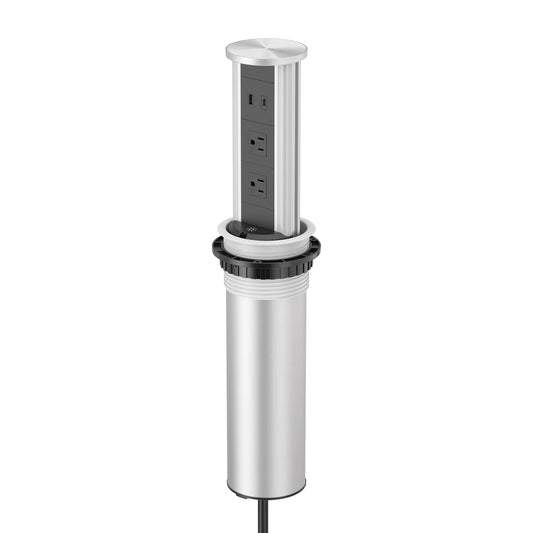
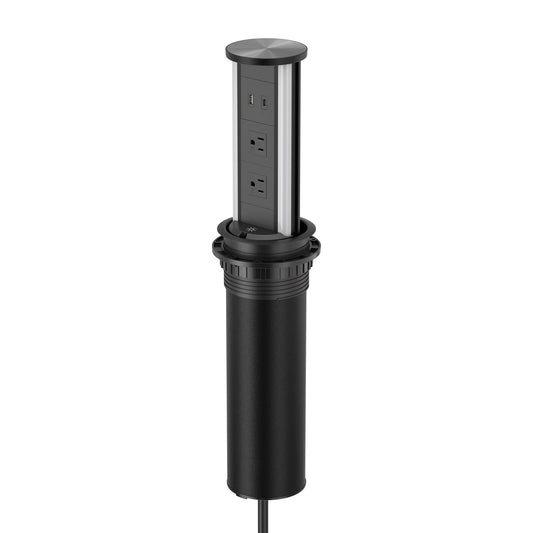
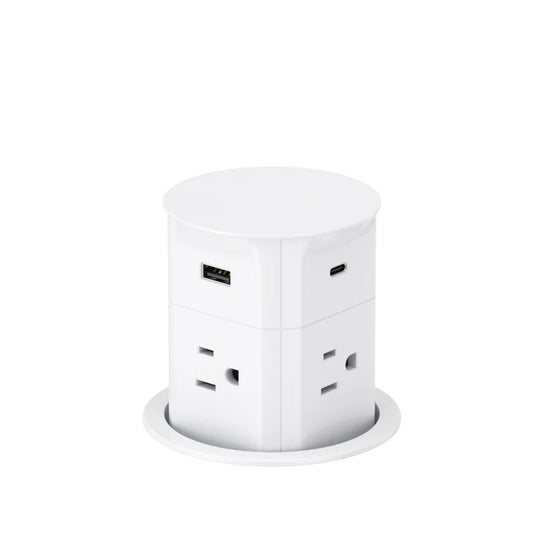
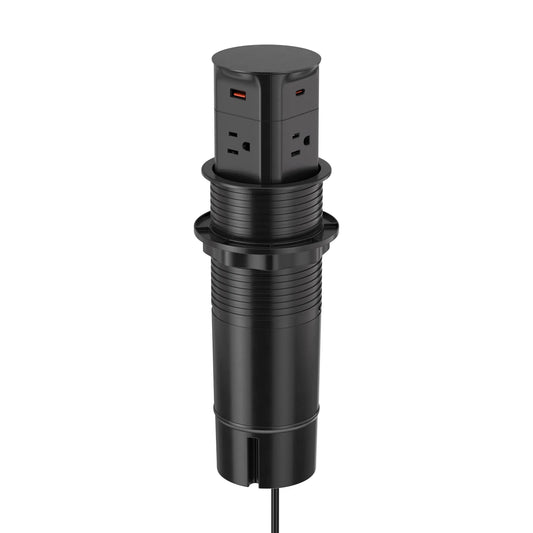
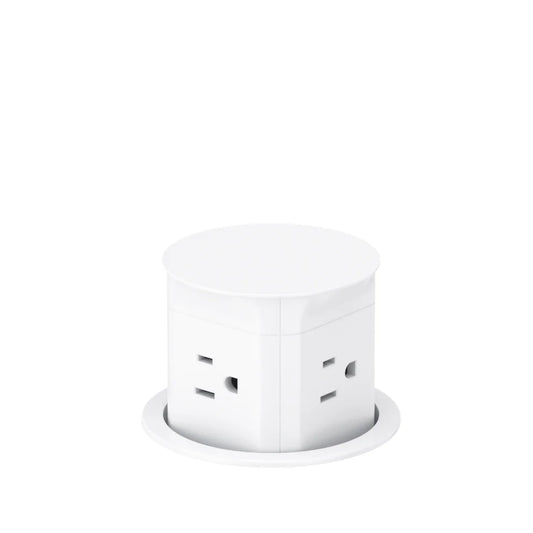
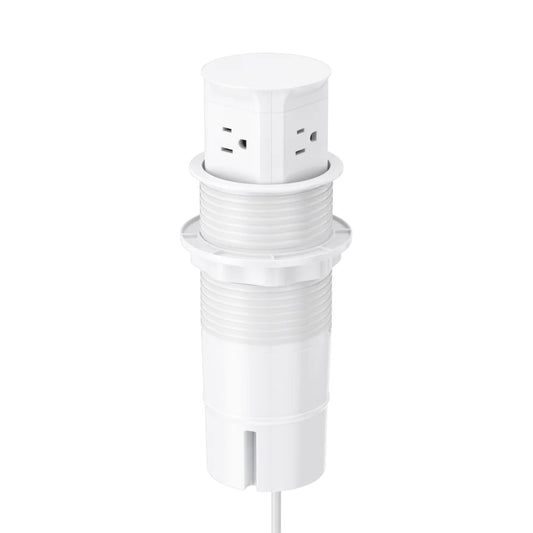
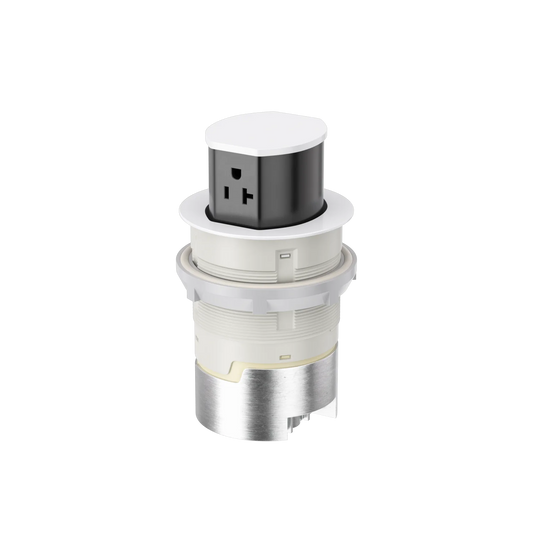
Tip: Use the plastic pieces shown in the photos as guides for where to start and how to lift the top safely.
4) Remove Old Adhesive and Clean the Surface
After you remove the glass, clean the mounting surface so it is flat and free of old glue. Wipe it with a microfiber cloth. If needed, use a small amount of isopropyl alcohol to remove stubborn residue. Let it fully dry before installing the new glass.
5) Install the New Glass Top
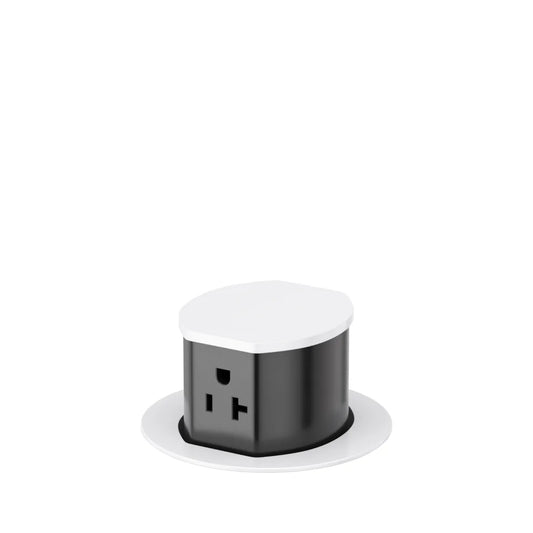
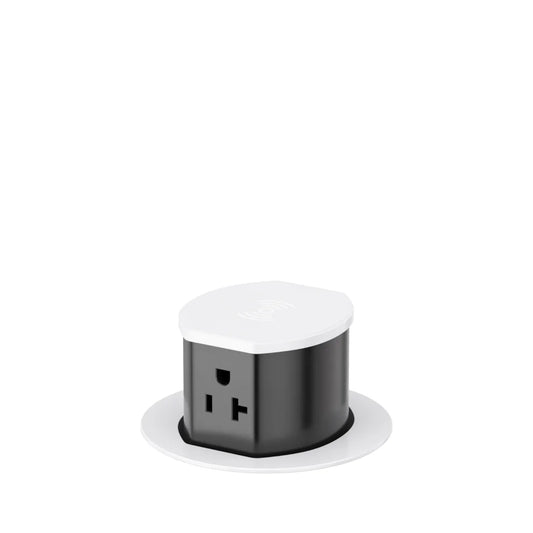
Finally, place the new glass top on the unit and press it down evenly. Make sure the power button logo is aligned to the front of the pop-up outlet before you apply firm pressure.
Important Notes
- Avoid metal tools, as they can chip the glass and scratch the housing.
- Do not overheat the top. Gentle heat works best.
- If the glass will not release after repeated gentle heating, stop and contact the supplier for guidance.
If you would like, add your photos directly under this post as a quick visual reference for the pry points and alignment.