How to Install the Point Pod
🛠️ Point Pod Installation Guide
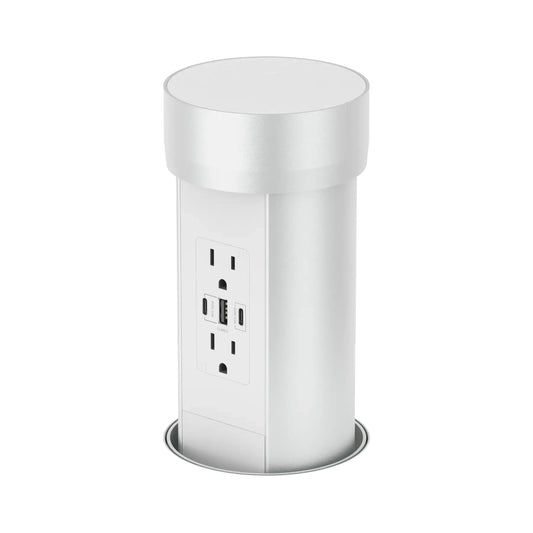
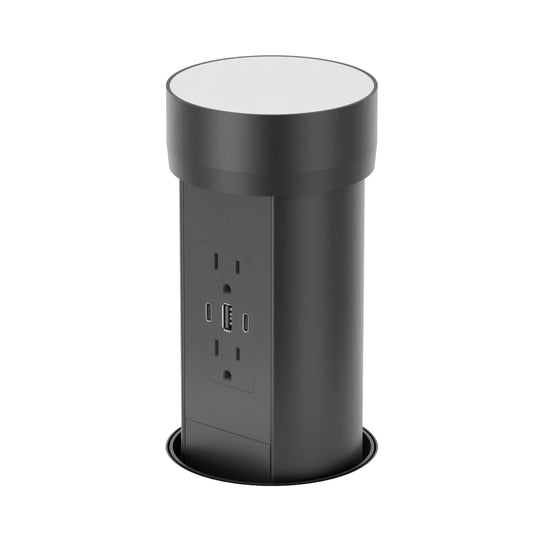
The Point Pod is an elegant and functional hidden power outlet system designed to be installed into your countertop. It rises with a simple touch and retracts when not in use, keeping your space clutter-free. This guide covers everything from planning to post-installation checks.
📦 What’s in the Box
- 1 × Point Pod
- 1 × Mounting Flange
- 1 × Outer Ring / Collet
- 1 × Power Cable
- 1 × User Manual
Note: The Point Pod does not include the material insert. This insert is created from the section you cut out of your countertop, ensuring the top matches your surface perfectly.

🔧 Tools & Materials Needed
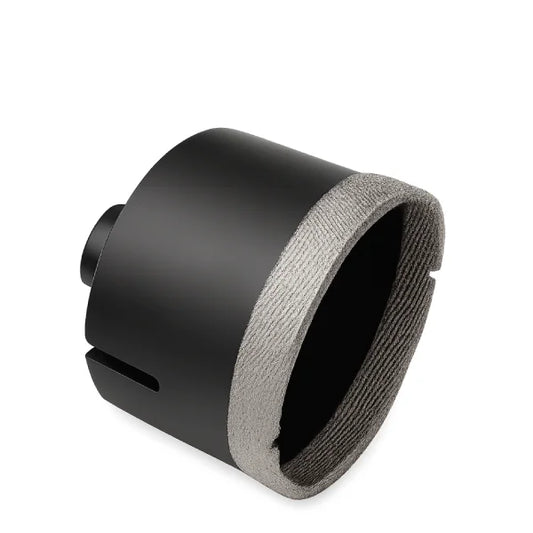
- Hole saw (102mm / 4” diameter)
- Drill press (mountable to countertop)
- Phillips-head screwdriver
- Measuring tape or ruler
- Pencil or marker
- Safety goggles and dust mask
- Vacuum (for debris cleanup)
- Sealant (optional for wet areas)
📐 Step 1: Planning & Positioning
1.1. Choose a flat, dry area on your bench-top with enough clearance underneath.
1.2. Ensure no drawers, supports, or plumbing will obstruct the unit.
1.3. Check power outlet location under your counter — you’ll need access to plug in the unit’s power cable.
Note: The Point Pod must be installed by a qualified professional and in indoor conditions only.
✂️ Step 2: Installation in Stone
This guide is intended for installation into a stone countertop. However, the process is very similar for other materials such as laminate or wood, so you can follow the same steps.
2.1. Remove the Point Pod from the box and check everything is present and accounted for.

2.2. Carefully mark out where the unit is to be installed, taking into account the void the unit needs under the bench top.
2.3. Drill 102mm OD hole in the stone bench top using a fit for use 102mm holesaw.
Alternatively, cut the holes with a water jet. Dimensions needed are 102mm for the outer hole and 93mm for the inner disc.

2.4. Silicone or glue the outer ring collet into the hole making sure it sits flush with the top of the bench surface.

2.5. Once the silicone or glue has cured, adhere the mounting flange to the underside of the stone positioned around the outer collet. This should be adhered using Megapoxy or similar product. Learn more here.


2.6. Once the mounting flange is set in place and Megapoxy or similar product has set,
install the Point Pod unit from the top and lower it down until it is sitting flush with the outer collet and has an even margin around. Fix the unit in place by placing the fastening clip supplied to the mounting flange and tightening appropriately.

2.7. Set height adjuster screws in the receiving cup to the right height for your disc insert. Glue the disc in place with silicone or preferred adhesive making sure to line up all features of the stone.


2.8. After the stone top has dried, plug the unit in ready for testing. The unit has a 30
second delay when first plugged and then when activated will travel in the downwards motion first. Activate the unit again by pressing on the top and the unit should rise up to the open position. Activate again and it will lower back down. In this closed position double check the height and margins and adjust where necessary.

✅ Step 3: Final Checks
- Confirm all outlets and USB ports function correctly
- Ensure the unit rises and lowers smoothly
- Verify there is no movement or looseness
- Clean the bench-top surface
The unit is now ready for everyday use.
⚠️ Safety & Maintenance Tips
- Avoid immersing water on the unit
- Always unplug before cleaning or servicing
- Clean only with a damp cloth—avoid harsh chemicals
- If malfunctioning, contact your supplier or a licensed electrician
📞 Need Support?
If you experience issues with installation or functionality, contact Point Pod Support:
📧 Email: support@pointpod.com.au
▶️ Video on the Point Pod Installation
💬 Frequently Asked Questions
Q. Is the product waterproof?
A. The Point Pod is designed and tested to meet AUS/NZ/UL/USA standards with an IP rating of 44. Any water spilled will be diverted away from the Point Pod and drip into the cabinet below for ease of clean up. Learn more about spills.
Q. Can I use 15 amp power with a Point Pod?
A. In Australia, the maximum current to be used is 10A, which covers most household items. In the USA, the maximum current to be used in 15A.
Q. Is the Point Pod surge protected?
A. The units are not surge protected.
Q. Do Point Pods have overload protection?
A. Yes, the Point Pods are fitted standard with overload protection, which will be tripped in the event of the unit drawing too much current.
Q. What happens if something gets caught between the Point Pod and the bench whist traveling to a closed position?
A. The Point Pod has been programmed to detect resistance and immediately switches directions to rise back up again.
Q. What happens if pressure is applied to the top whilst the Point Pod is traveling up?
A. The unit will sense this and stop.
Q. When I first plug my Point Pod in for use it doesn’t activate on first touch. What do I do?
A. The Point Pod has been programmed to travel down first. You will need to activate it again to begin traveling up.
Q. My Point Pod doesn’t activate when I push down on it. What do I do?
A. The Point Pod products are designed to be activated upon release. Firmly press down, and on release, you will see the unit activated.


